![]()
![]()
![]()
![]()
![]()
![]()
![]()
![]()
![]()
![]()
|
|
|
|
Pumpkin Carving
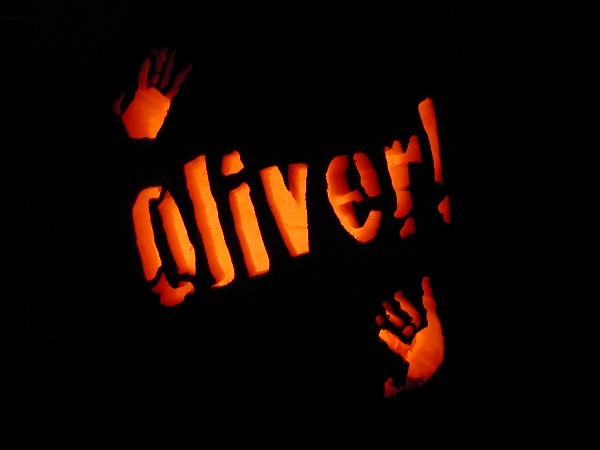
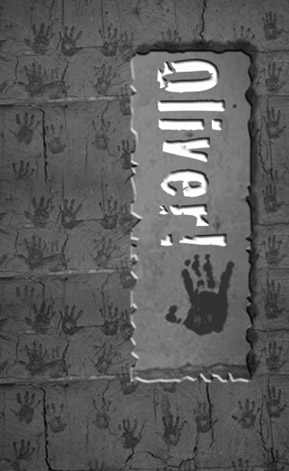
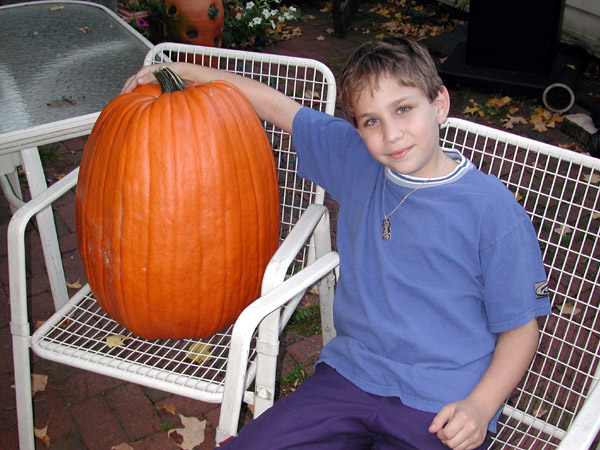
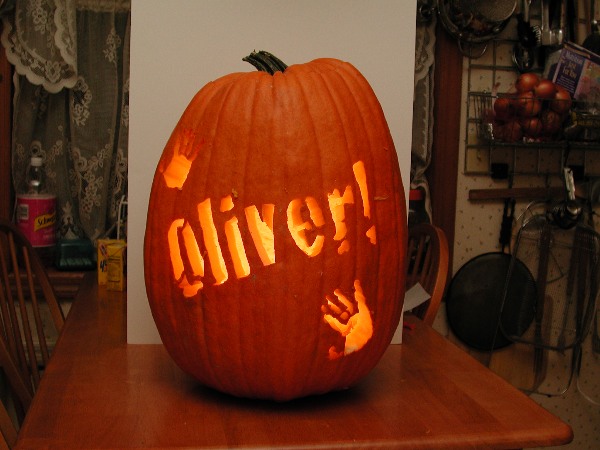
The cast of Oliver! had a final cast party to celebrate the close of the play. Because it was so close to Halloween, it was a costume party. The invitation said something about a pumpkin carving contest where folk were asked to bring pumpkins they've already carved. I'd never carved a pumpkin before, and thought of it as an interesting adventure. I decided that it would be a kick to make a carving that showed the Oliver logo. We searched several places until we found a pumpkin grand enough for the logo. (designed by Frank Avelino, the play's director). Click on the small images for larger photos.
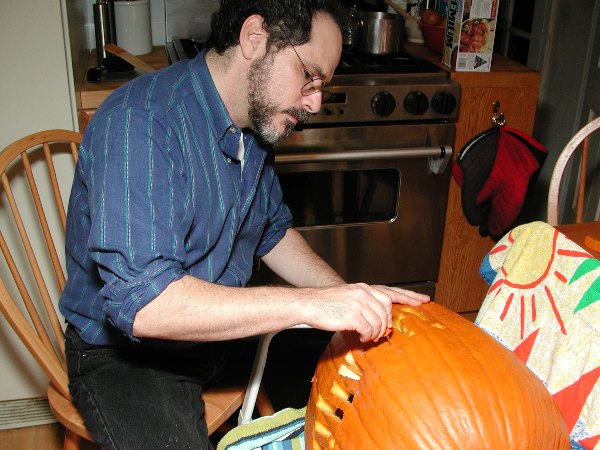
The photos below show the carving process of this rather large pumpkin (about 40 lbs.).
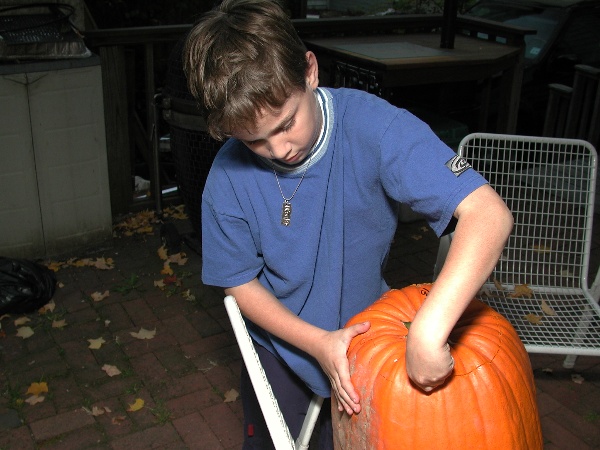
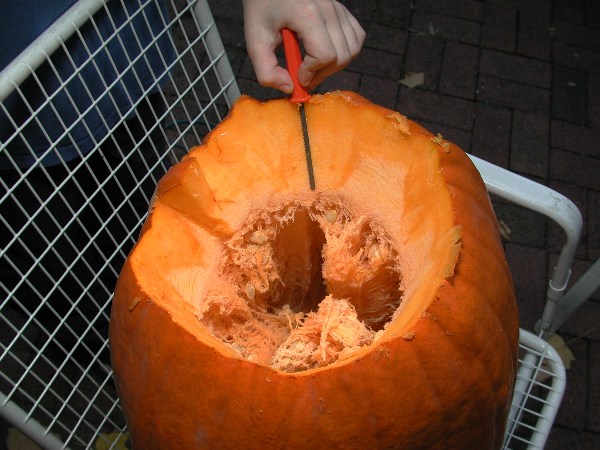
Lauren picked up a set of pumpkin carving tools from a local store, these included various saws and a scoop. As you can see from the photo above, this pumpkin was so thick that the lid saw didn't make it all the way through the wall of the pumpkin. I used a flexible boning knife to finish the cut so I could remove the top.
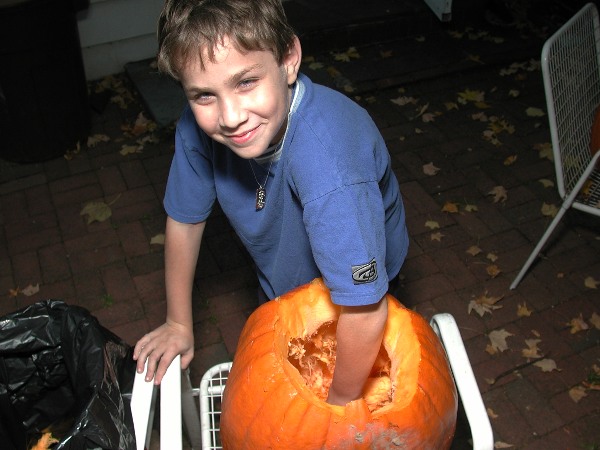
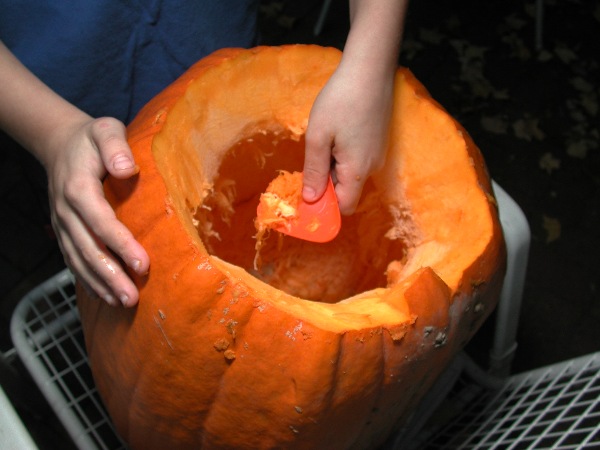
When the lid was removed, I had Joshua scoop out all the seeds and stringy stuff from the center. We then used the scooping tool to thin out the walls of the pumpkin to about 1 inch thick, making it much easier to carve.
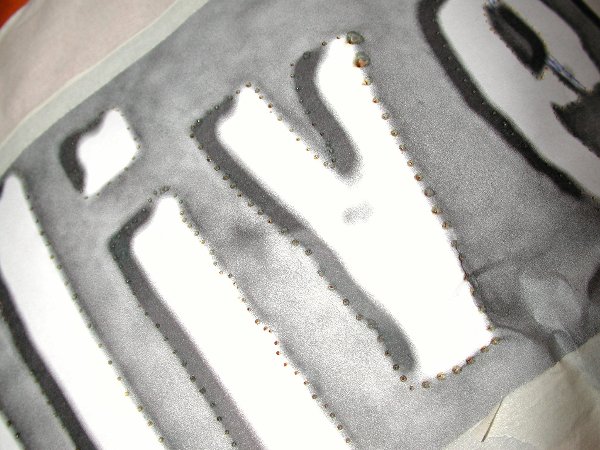
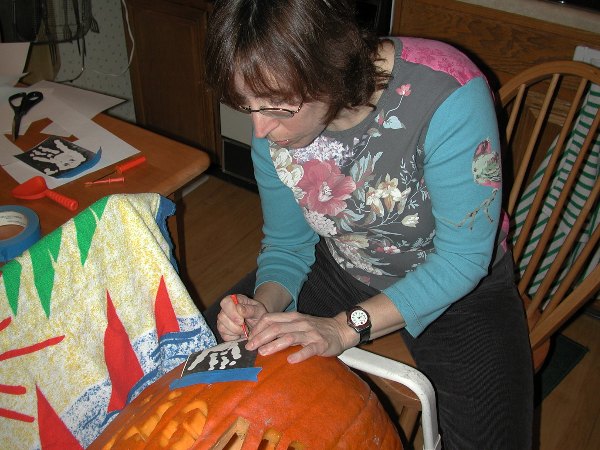
I made some prints of the logo and taped it onto the pumpkin. Then, using a transfer tool, I poked lots of little holes in the paper, which then left an outline of the area that I wanted to cut away.
Scott did most of the heavy lifting of the pumpkin, Joshua did most of the scooping and icky stuff. I did most of the carving, and Lauren lent a hand with the transferring.
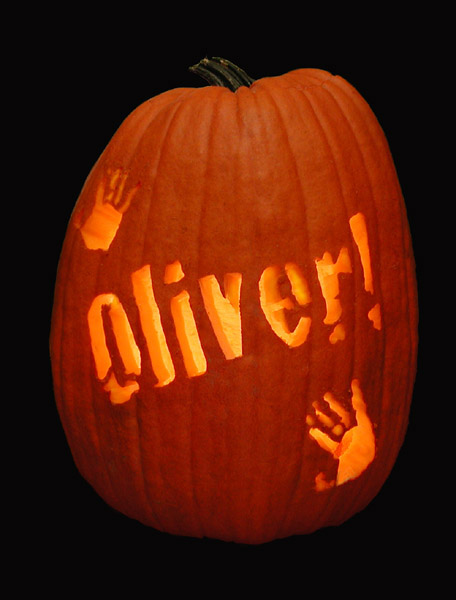
I used a "tap light" to illuminate the pumpkin from the inside. These lights are commonly seen in infomercials and are available from most hardware stores. They are battery powered and give a nice diffuse light. I thought this would be most convenient and safer for the party than using candles. I put a white piece of foam-core behind the pumpkin to make it easier for me to replace the kitchen background with black for the final photo below.
We brought the pumpkin to the cast party, and folk seemed to enjoy it. As mentioned, this was the first time I've ever carved a pumpkin, and it was lots of fun involving the entire family. The Oliver! web page can be reached by clicking here. |
|
All text and photographs copyright © 1999 - 2017 Zenreich Systems. All rights reserved. |