![]()
![]()
![]()
![]()
![]()
![]()
![]()
![]()
![]()
![]()
|
|
|
|
Slip slidin' away...
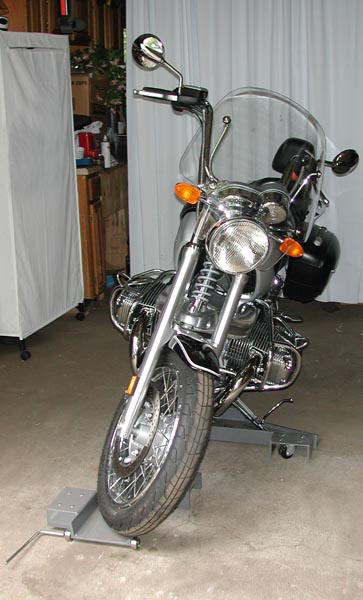
I have a tricky parking situation with my motorcycle. In order to put the motorcycle in the garage, I have to squeeze past the cars in my very narrow 60 foot long driveway. Once past the cars, I can ride the bike into this narrow 70 year old garage. The larger problem however was how to turn the bike once it's been ridden in and parked. Backing the bike into the garage is not practical because of the physical layout of the driveway. Turning the bike around in the driveway is a major effort, and is physically exhausting trying to wrestle the tires over cement and grass, all the while trying not to scrape up the cars. Fortunately, I came across a device that has made my life easier. It's called a CycleSlider, and here is the way it's being used with my BMW R1200C cruiser. Click on the small photos for larger images. The CycleSlider is an aluminum rail with five sets of double wheel casters (two on each end of the rail, and one on an outrigger for the kickstand). Before riding into the garage, I position the CycleSlider so that the back of the rail is at the entrance to the garage, and flip the locking levers. These levers are attached to cams that raise the wheels up off the floor so the rail doesn't become a giant skateboard.
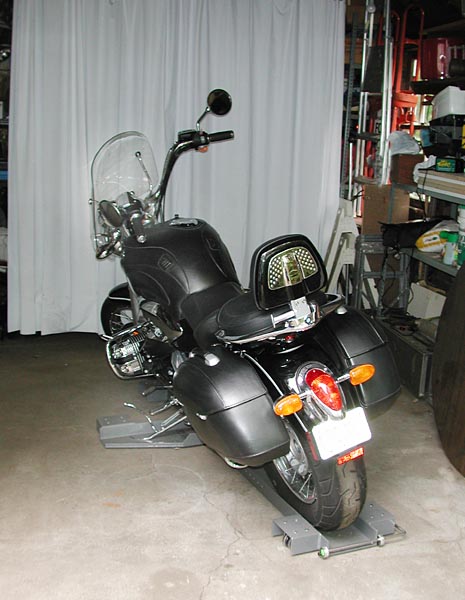
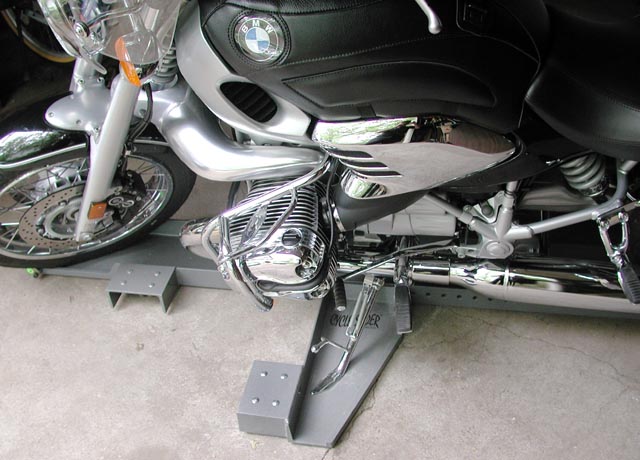
I slowly ride the bike onto the rail. Once both wheels are on the rail, I put the kickstand down, turn off the bike, and unlock the rail so I can turn the bike. The photo above shows the unlocked wheels and the bike turned slightly from the drive-in position.
I particularly like this device because the bike can remain on the rail while parked (unlike some other turntable devices). The kickstand outrigger can be positioned anywhere along the rail, so it will accommodate most bikes. There is a cutout at the front of the rail so the front wheel can turn and lock in the natural parked position.
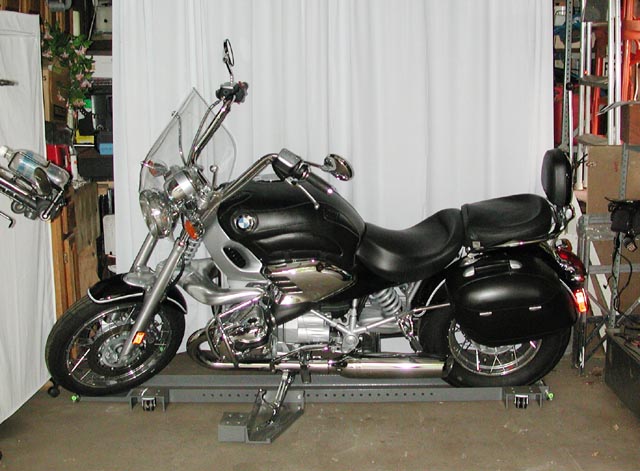
The caster wheels allow pretty easy movement, even on the rough, uneven cement floor the garage. As you can see from the photo above, the width of the space allocated for the bike is just barely wider than the bike is long, so it really shows off how easily the rail can be maneuvered.
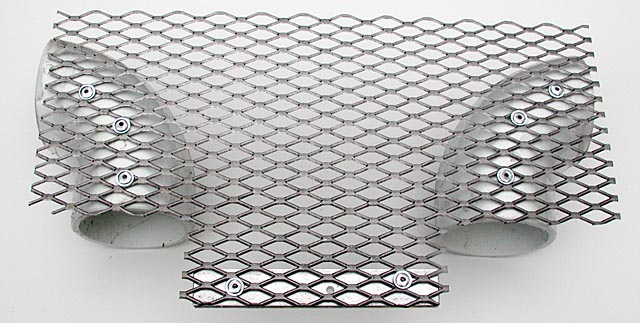
One nice thing about the wheels is that I can just as easily push the bike to the side of the garage for storage, but normally I just center the rail in the garage with the bike pointing towards the driveway. Once the bike has been turned around, I lock the rail with the levers, and I'm all ready for the next ride. A little tweaking...Those who know me know that I do tend to tinker with things. So here are two little projects I decided to undertake to make the CycleSlider even easier for me to use.. Because I really can't see the rear wheel as I'm rolling forward onto the rail, I wanted to minimize the chance of my riding up onto the sidewall of the rail and possibly damaging the tire, or worse missing the rail altogether on the outside. I decided to try to fashion a little "funnel" for the tires. I wanted something with rounded edges, so there is little chance of the tire riding up on the funnel. I chose PVC elbows for the funnel, and expanded metal grating material as a base. A strip of aluminum rod serves as a stop (that is captured by the rear brake rod), so the grate can't pull forwards. The photos represent my first attempt at this project. I assembled it with pop-rivets, and I might replace them with nuts and bolts if need be. I left extra room on the expanded metal, in case I find it necessary to strengthen the mounting of the elbows with some angle brackets. I could use some epoxy or other filler under the elbows as another approach to stabilizing the elbows, but it's probably not necessary. The brake locking lever needed to clear the elbows, so I had to cut off the female end of the elbow, and that gave me just the clearance I needed.
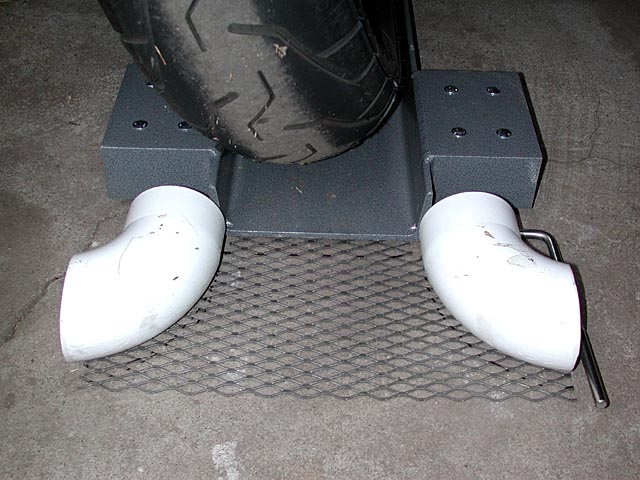
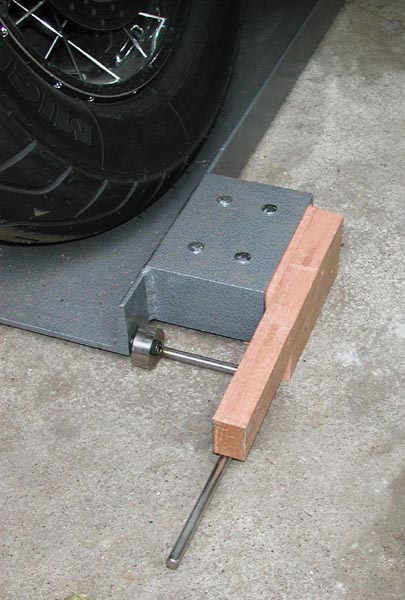
So far it seems to be working very well. I'll probably get around to spray painting it so the expanded metal won't rust. The second project made me smile. Because of the roughness of the cement floor, a comical thing happens when I try to lock the rail levers. I lock the rear lever first because that's where most of the weight is located. However, when I then lock the front lever, the action of the cam causes the rear lever to rock forward and unlock. I guess the BMW cruiser isn't as back heavy as most other bikes, otherwise locking the front wouldn't unlock the back. It's kind of funny to watch, something I'd expect from a Wiley Coyote cartoon. Each time I lock one lever, the other unlocks. Of course, I could just keep one of my sons in the garage permanently, and have him stand on the "other" lever on demand, to keep it from rocking forward. But, alas local ordinances prohibit me locking up a child in the garage, so I figured another approach was necessary.
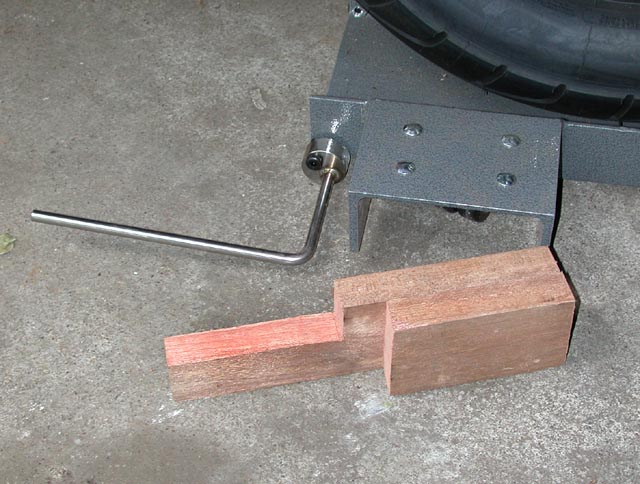
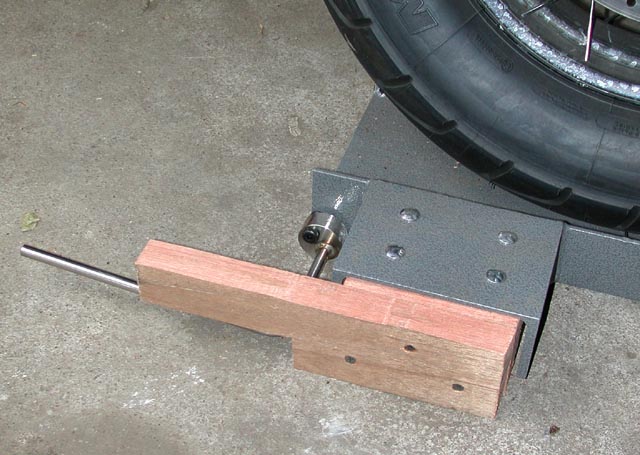
I cut a couple of pieces of wood, and fastened them together so that one end fits into the wheel well, and the the other end captures the locking lever. So as shown below, once I've locked the rear wheel lever, I simply slide the block into place. This way, when I lock the front wheel lever the wood keeps the rear lever from lifting. Problem solved! Additional notes: It turns out that I really didn't need the wood block. If I lock the rear lever, and hold push on the bike's front end a bit when I lock the front lever, I can keep the rail from moving forward (which was causing the unlocking of the other lever). But it was a fun little woodworking project <s>. So, now I seem to be all set. I can easily ride the bike onto the CycleSlider, turn the bike around in the garage by myself, and lock it into position for the next ride out of the garage. I'm very pleased with the fit and finish of the CycleSlider, and consider it money very well spent. If you have comments, please visit the Guestbook. Copyright © 2001 by Zenreich Systems. All
rights reserved.
|
|
All text and photographs copyright © 1999 - 2017 Zenreich Systems. All rights reserved. |