![]()
![]()
![]()
![]()
![]()
![]()
![]()
![]()
![]()
![]()
![]()
![]()
![]()
![]()
|
|
|
|
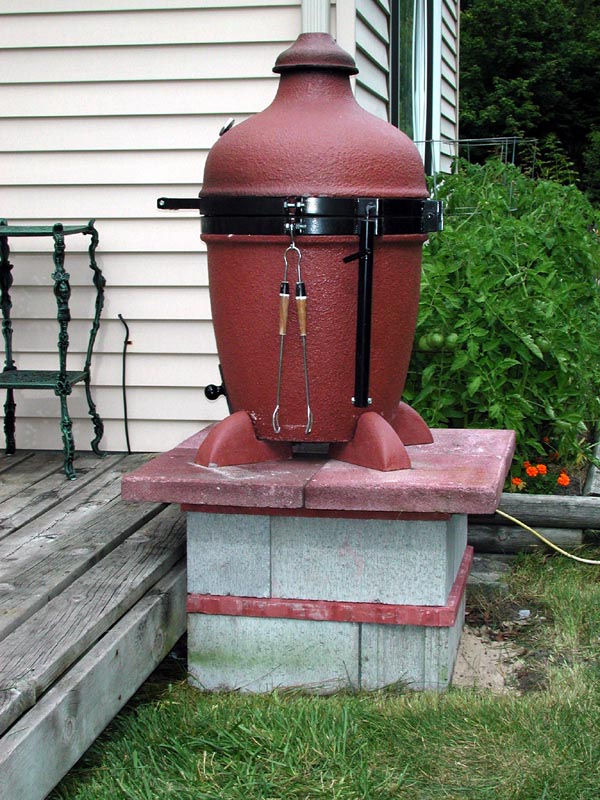
Base for a #5 KamadoA year ago, we gave our friends in Michigan a #5 textured Kamado. They've been using it faithfully, and during a recent visit, we decided to rework the installation. Click on the thumbnail photos for larger images. When we originally installed it, they wanted to keep the "K" off of their wooden deck, so as to minimize the smoke hitting the house (they also sometimes put a tent over the deck).
The photo above shows the K on a platform we made last year. It consisted of four 8 x 8 x 16" cement blocks with four 18 x 18" red patio stones on top. This was a pretty good arrangement in that it provided about 10 inches of extra height, so there is less need to bend over when tending the grill (it brings it close to the height of a #7 K). However, the lady of the house pointed out that it was a big step down from their deck to the grass, and she'd like the dome and bands turned towards the deck so she wouldn't need to step down. I like the idea of not stepping down, but simply turning the cooker to face the deck would mean bending over too much, so we gents took it as a little engineering challenge. A trip to the local home center, and about 30 minutes worth of assembly made for a revised base that makes it much more convenient to use their K.
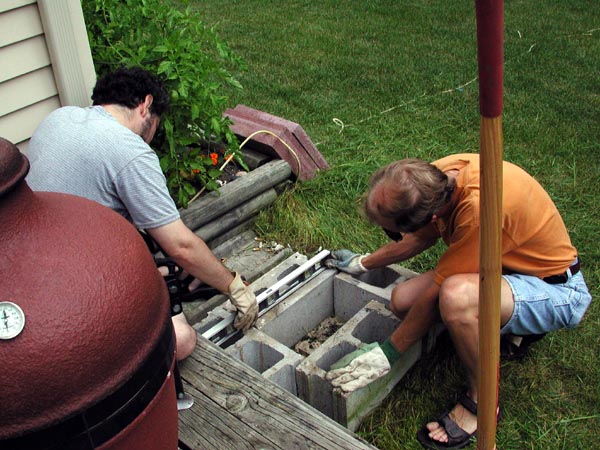
We used the existing cement blocks, and moved them closer to the deck and leveled them (there is some sand underneath to simplify the leveling).
We added an 8 x 8" block into the center, for a little more stability.
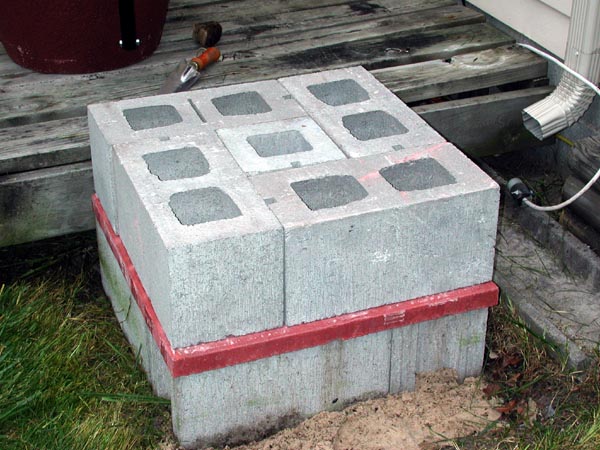
Next we added a 24 x 24" patio stone, covering the first course of bricks.
Adding the second course of new blocks was fast and easy, as everything was already smooth and level.
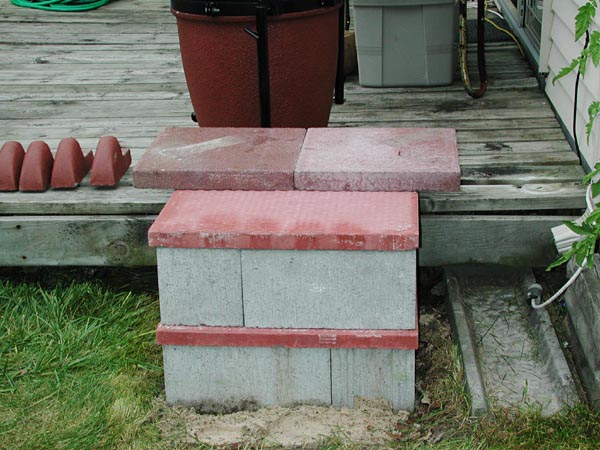
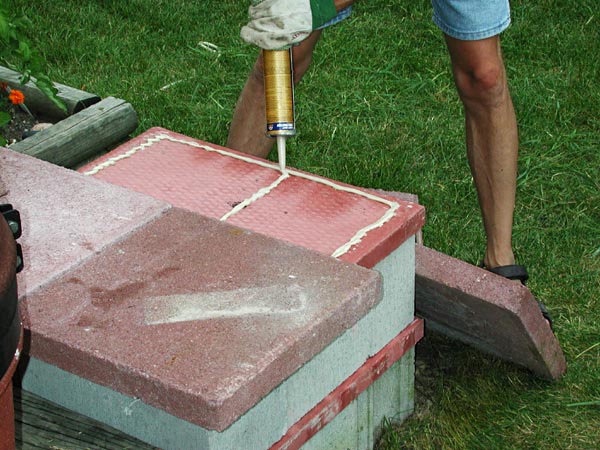
Another 24" stone was placed on top of the second course. We put the 16 x 16" patio stones back on top to make a wider base with an overhang. We also decided to put some construction adhesive under the top stones to minimize them shifting around.
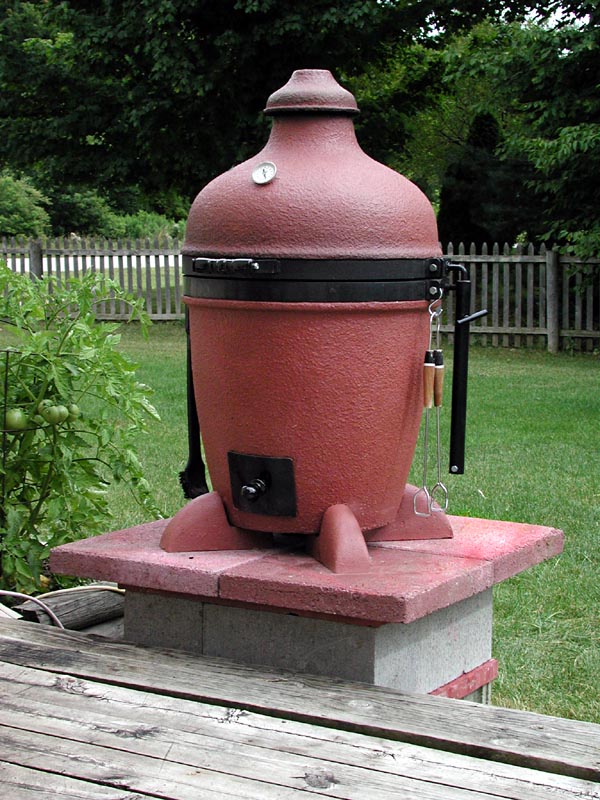
We wrestled the #5 onto the new platform, turning the entire cooker so that it faces the patio. We are all pleased with this new arrangement. The grill is now at a very comfortable height. The cooker is level, stable, and the materials are inexpensive and fire resistant. A side benefit is that the thermometer is now visible from windows in the house. We also hung a couple of "S" hooks from the lower band bolts. These give a simple way of hanging tongs, grill brushes, etc.
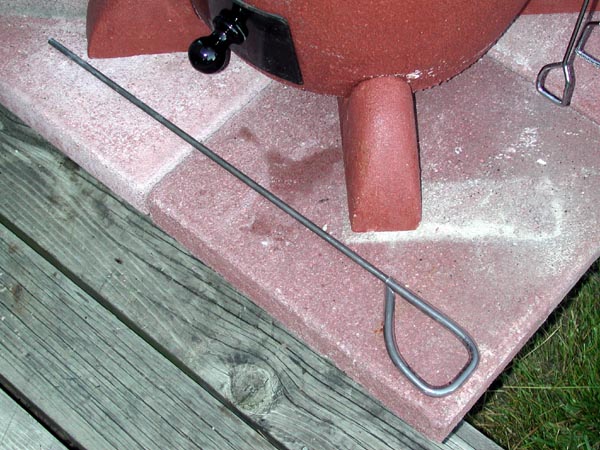
A second little project was to make a small "poker" to stir and position the coals, and clear any clogged air holes. I use a fireplace poker to stir mine, but it's a bit long for the #5... and the wooden stick they were using was getting shorter and shorter and shorter.....
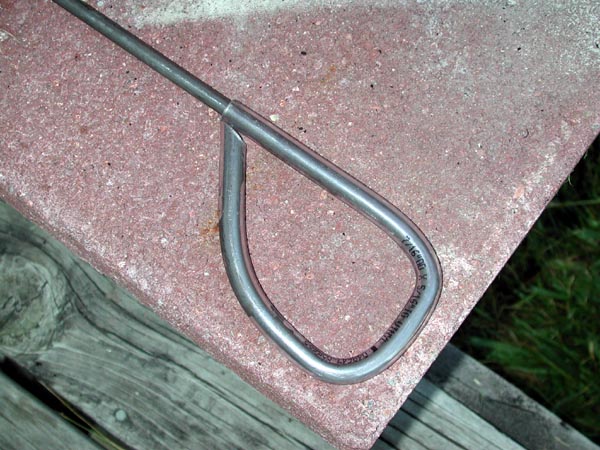
We got a piece of 36" x 5/16" round steel and bent it to form a handle. A piece of vinyl tubing was slipped over the handle for a cooler, more comfortable grip. The ladies enjoyed watching us men fuss with the projects. There must be something attractive about men hauling cement < vbg >.
There was a reward waiting for us that evening. While we were at the home center, the ladies got ambitious and baked a lovely peach pie (I believe it was the first time I've ever eaten this kind of pie). Given that incentive, I'll haul concrete blocks anytime! If you have comments, please visit the Guestbook.
Copyright © 2000 by Zenreich Systems. All rights reserved. |
|
All text and photographs copyright © 1999 - 2017 Zenreich Systems. All rights reserved. |