![]()
![]()
![]()
![]()
![]()
![]()
![]()
![]()
![]()
![]()
![]()
![]()
![]()
![]()
![]()
![]()
![]()
|
|
|
|
Gone with the wind...
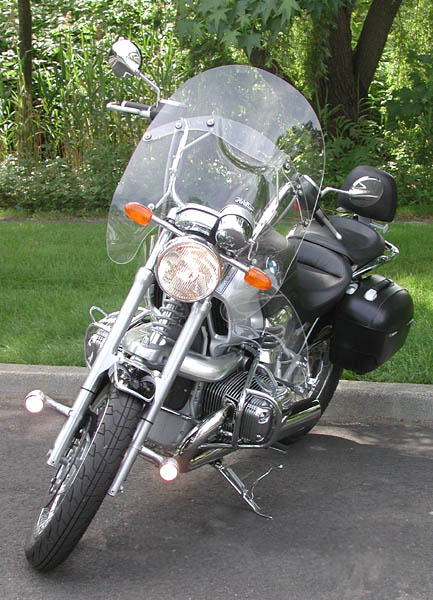
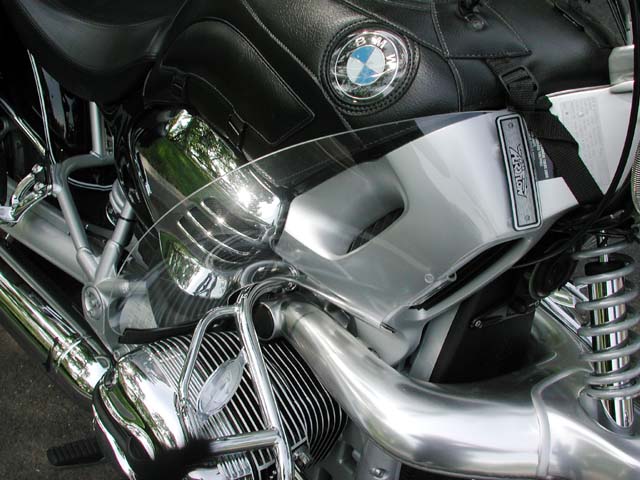
Because the windscreen that came with the Montana edition of the R1200C motorcycle was not as aerodynamic as I had hoped for, I decided to try the AeroFlow system of windscreens and accessories. Click on the small photos for larger views. The AeroFlow WindscreenThe AeroFlow Handlebar Fairing is a two piece screen, with a gap between the lower and upper parts of the screen that promotes laminar air flow, reducing the amount of wind buffetting. I decided to do the installation myself, figuring that it would take me longer just to get back and forth to the dealer than it would to do the work. The people at AeroFlow were very accommodating, and sent the package as soon as they had a complete set.
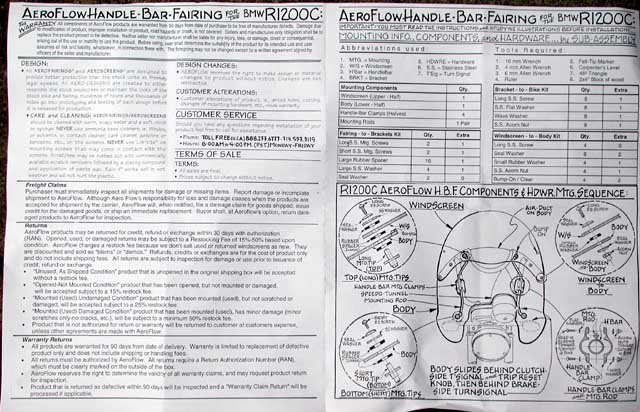
The printed directions are a little funky, but quite complete... it took a few readings to understand exactly what they wanted me to do. I've suggested to them that text should reference the well drawn figures, it's not done that way now.
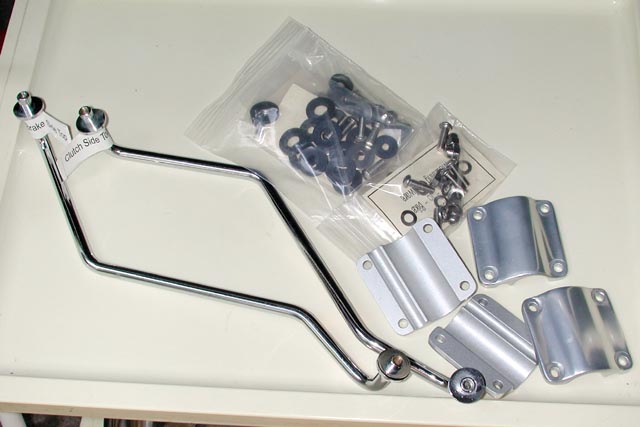
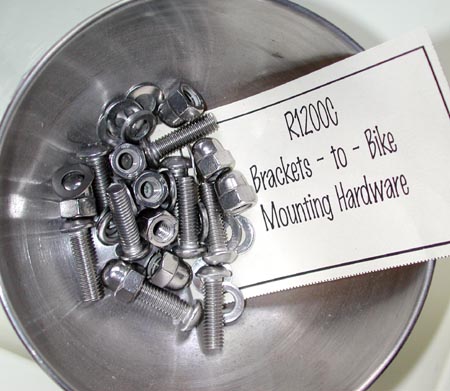
I was pretty impressed at the packaging and organization of the parts. Everything was sleeved and well labeled into subsystems.
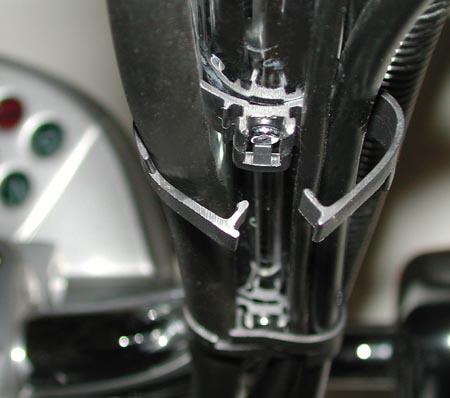
Sometimes the simplest instructions can be confusing. The text says to "Disconnect both middle & bottom H'Bar cable ties" Now, does this mean to take them off the handlbars? Does it mean to release the clips? If so, how did the clips go on in the first place? It' s little things like this that make me scratch my head. To open the clips, do you squeeze, press, or twist? Obviously, an experienced mechanic who does these things all the time would have known, but I had to fuss with it a bit until I realized that the right clip slides up, and the left clip slides down. Very easy, takes only a second each... once you know how it's done.
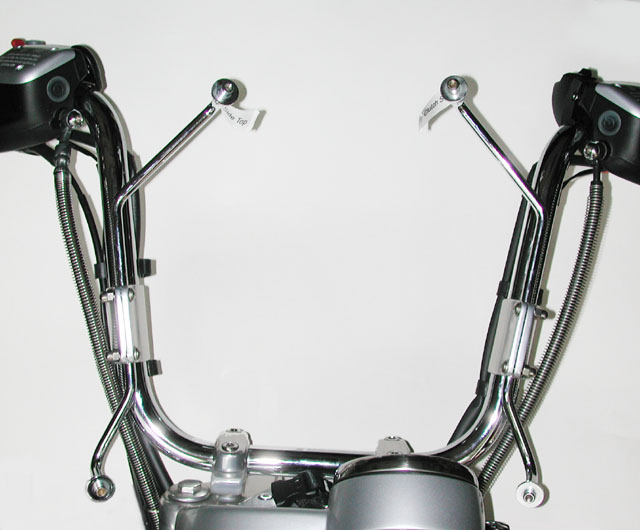
The clamps get mounted to the handlbar, which in turn hold the mounting rods.
The mounting rods support the lower half of the screen, shown above before any bolts were installed.
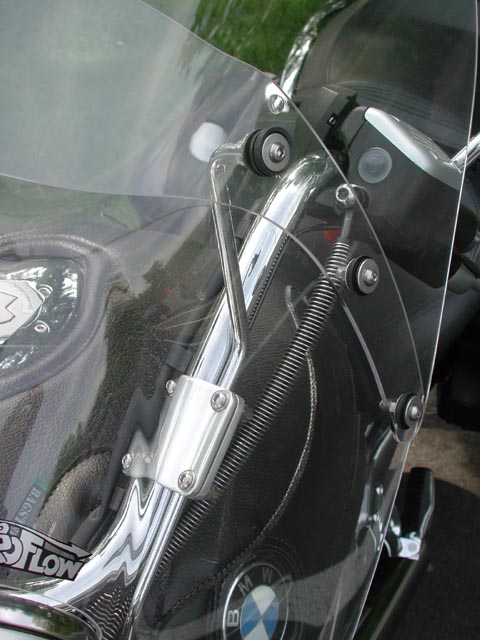
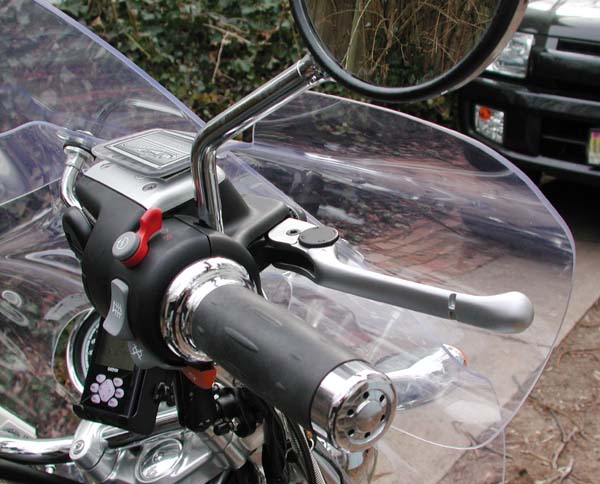
The mounting hardware includes bolts, nuts, rubber washers, stainless steel washers, and sealing washers (metal and rubber combined). The upper screen connects to the lower screen in four places, and the mounting bars go through both screens.
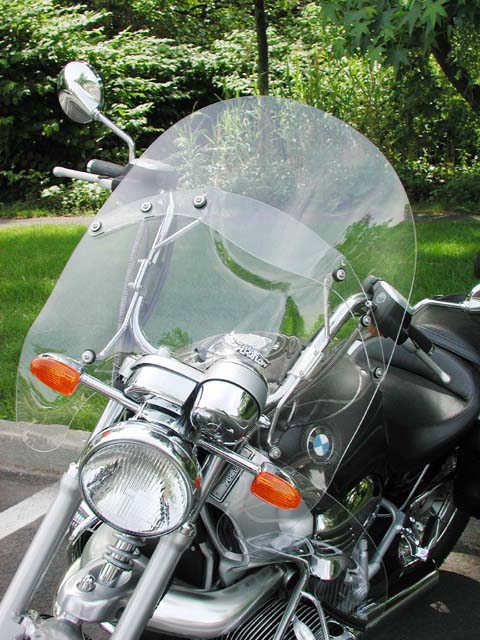
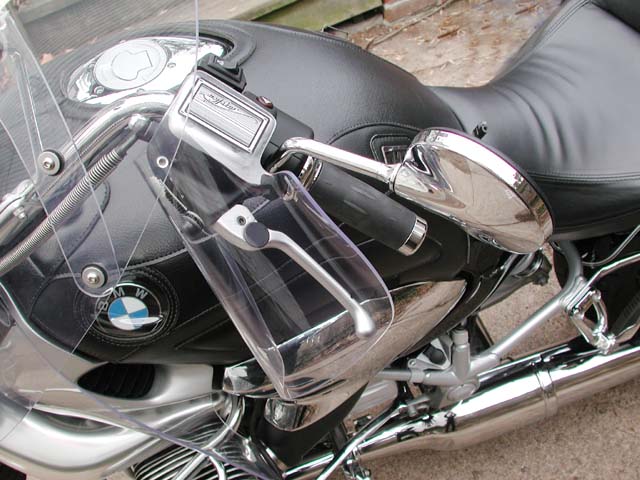
I took a guess and ordered the medium height top screen. I tried it for a few days, and then ordered the short top screen to compare. As of this writing, I'm not sure which one I'll keep. I'm trying to decide what height to keep the top of the screen at. Touring cycles typically look through their screens. Sport and cruisers typically look over the top of the screen. The higher the screen, the quieter the air is behind the screen, but then again, there's just more plastic to look through. I'm trying to find the middle ground where I can look over the screen for most distant objects, but still be able to duck under the screen for high speeds. If I use the shorter screen, I can tilt the handlebars up bringing the screen more vertical. If I use the taller screen, I have to tilt the bars down (which is more comfortable for my short arms, but not as good for steering control). So, I'll play with it, and see what Lauren says as we try out both screens with her as a passenger. AeroGardsOne of the reasons I changed screens is to make highway riding more comfortable for Lauren when she rides with me. One way to push air away from us is to use the AeroFlow AeroGard lower fairings. These clear plastic deflectors are almost invisible, so they don't detract from the look of the bike much.
The AeroGards are designed to work with the AeroFlow screens, but I suspect that using them with any windscreen will add to overall comfort.
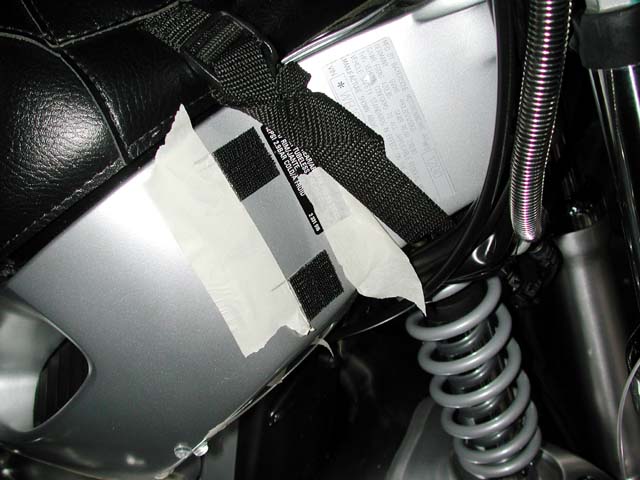
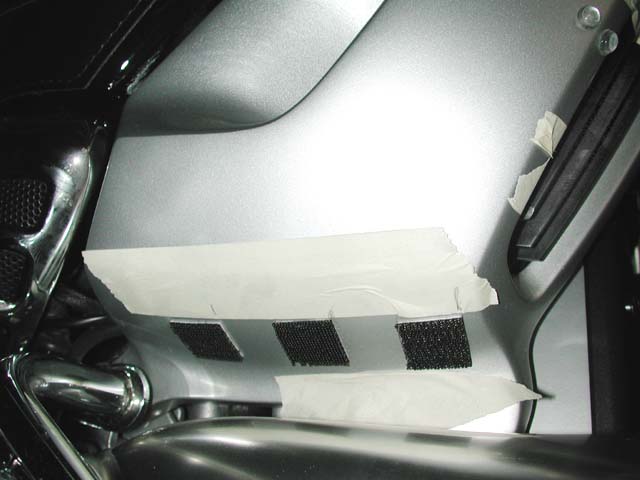
The guards attach with DualLock fasteners... sort of a rigid plastic Velcro that doesn't shift around (both sides of the fasteners are identical, with thousands of little plastic posts that interlock). I've used these fasteners for other projects before, and the only place I've found them readily available is at Radio Shack stores (used for mounting electronic parts, etc.).
The instructions tell you to use tape to mark where the DualLock squares will go. This is important, because the adhesive is pretty aggressive and can't really be adjusted once placed. So I laid out tape and marked the position of the fasteners on the tape. Then I pressed the squares into position. Now there's a place for the guards (which have their fasteners pre-installed by the factory) to connect to the bike. My initial impressions riding with the AeroGards are very good. I was riding in some light rain, and as long as I was moving, the fairings pushed the air up over and away from my legs, keeping them pretty dry. Tests with Lauren riding pillion will be the real test. One thing to consider with these guards... you can not use the engine guards as a foot rest because the end of the guard is behind the engine cover. This is not a problem for me because my legs just don't do that maneuver. I'd never be comfortable in that position, so I'll not miss it. AeroFlow HandGuardsWhen it gets cold out, I install the HandGards. These do a great job of keeping the wind off my hands, and help the windscreen divert the air around me. They are unobtrusive, and simple to install and remove.
ConclusionsSo far, I can say that the AeroFlow components are first rate in quality and performance. After fine tuning the position of the windscreen, I'm very happy, and Lauren's feedback as a passenger has been very positive. If you have comments, please visit the Guestbook. Copyright © 2001 by Zenreich Systems. All
rights reserved.
|
|
All text and photographs copyright © 1999 - 2017 Zenreich Systems. All rights reserved. |