![]()
![]()
![]()
![]()
![]()
![]()
![]()
![]()
![]()
![]()
![]()
![]()
![]()
![]()
![]()
![]()
![]()
|
|
|
|
Racking it up
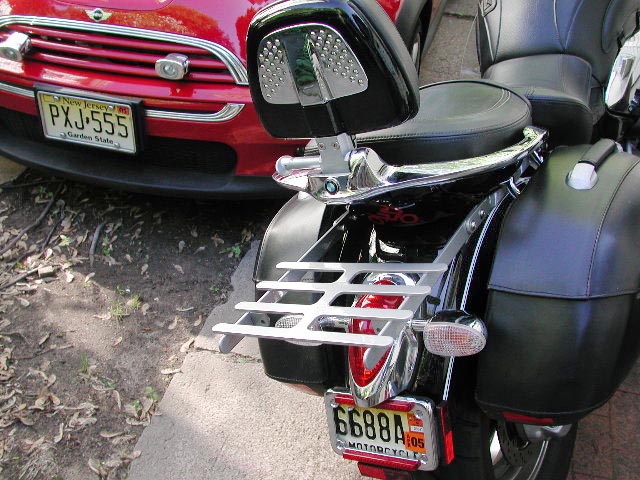
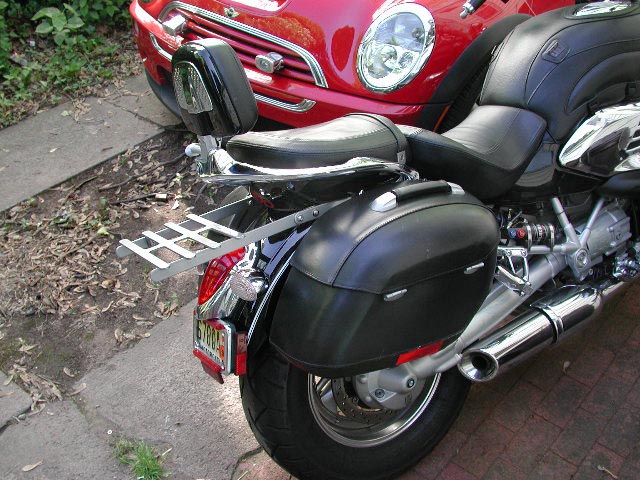
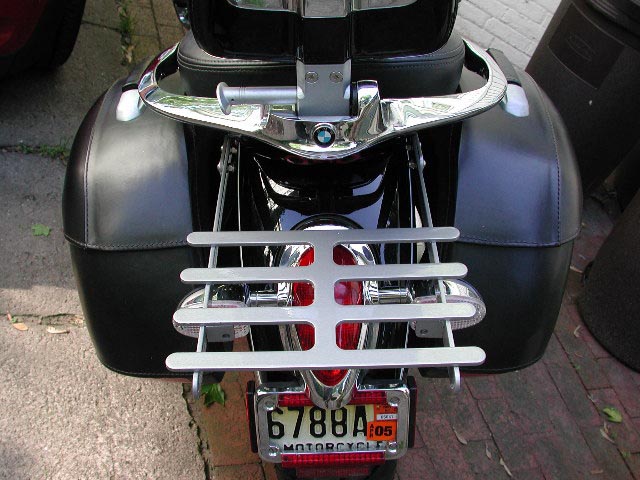
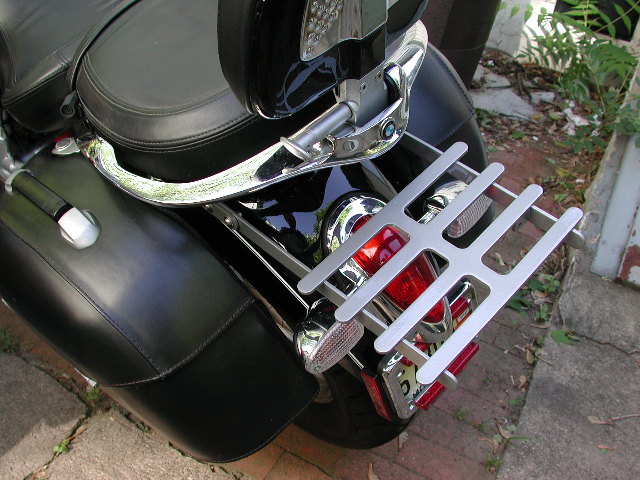
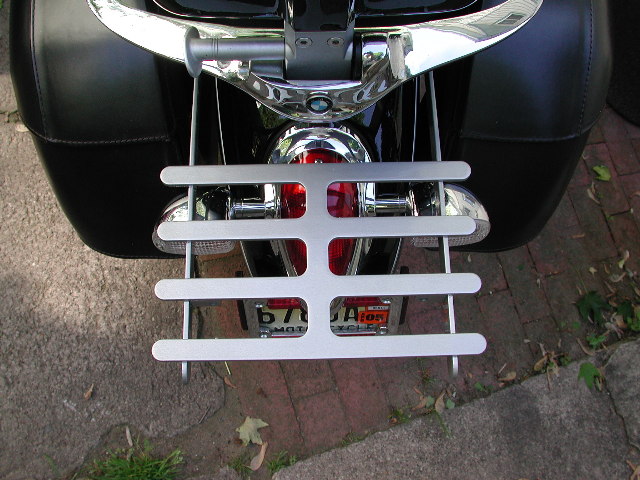
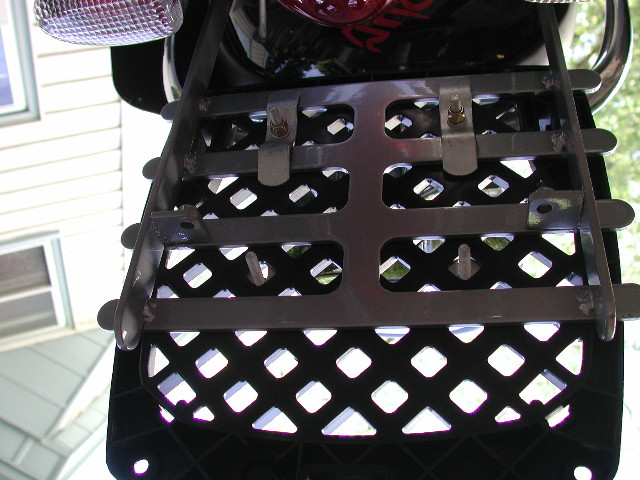
For some time, I've been looking for a tail rack for my motorcycle. I did some prototyping, and fussed with it for a long time. I needed a rack that can be removed easily, and could potentially support a topcase. One of the Chromeheads.org members, Cruisin, was similarly preoccupied with the task, and went about actually building a quality product. So I was pleased to put all other prototyping brain cells to sleep and installed his rack. Details and ordering information are on the Cruisin's Classic Creations web site. When I received the package, I was immediately impressed with the quality of the parts. Mine came powercoated in grey, black is available. The steel is heavy, and will stand up to substantial weight. The entire rig feels very solid. It comes in three pieces... two brackets that bolt onto the bike, and a tailrack that bolts onto the brackets. There are two threaded bolts on the underside of the rack that accept an accessory basket that sits atop the rack. The photos below show the finished installation. Click on the small photos for larger images.
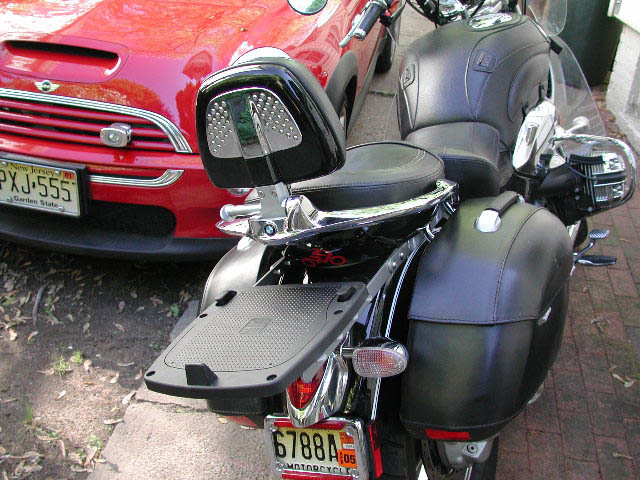
These photos show a Givi universal mounting plate partially attached to the rack. If I add a topcase, this will be the mount for it.
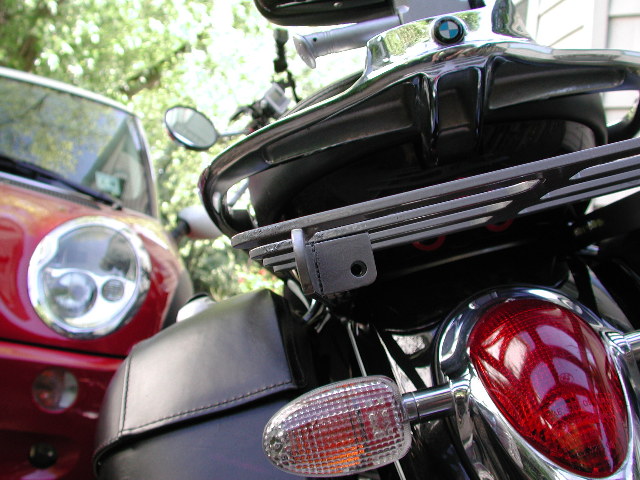
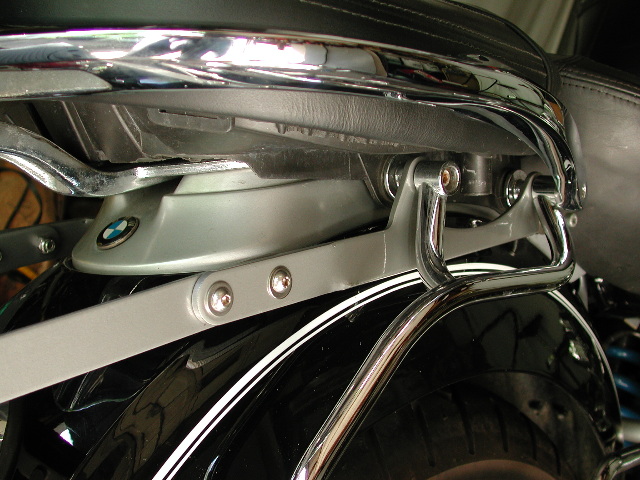
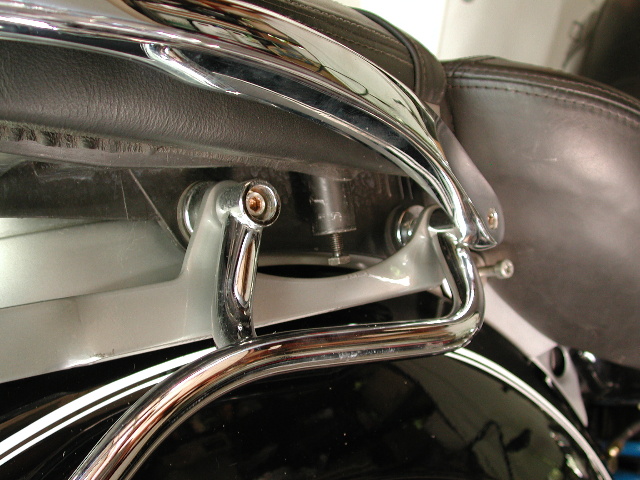
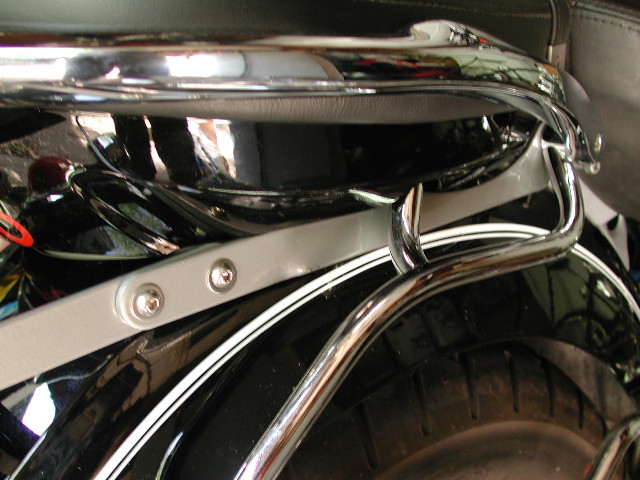
The photos below show the finished bracket installation. Make sure to insert the black hex head bolts supplied with the kit before installing the bracket (otherwise you'll have to tip the seat up to put them in. The installation instructions call for making two small slits in the seat skirt, so the hex head bolt can hold the skirt in place... an elegant solution to a tight squeeze situation.
Mounting the brackets is pretty straightforward, though it's a tight squeeze in-between the seat stud and the luggage rack. One thing that's important (and I found this out the first time I removed the passenger seat) is that on my bike, the bolts that hold the passenger grab rail onto the fender (under the seat) must be loosened before I can get the front bolts of the passenger seat back in. So I loosen the fender, insert the front seat bolts, tip the back of the seat up, and tighten the bolts before putting the seat back down and adding the rear seat bolts. Everyone needs a little support now and then...
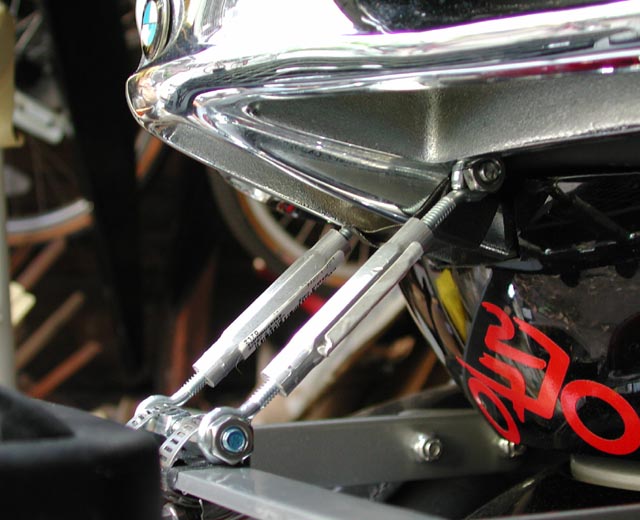
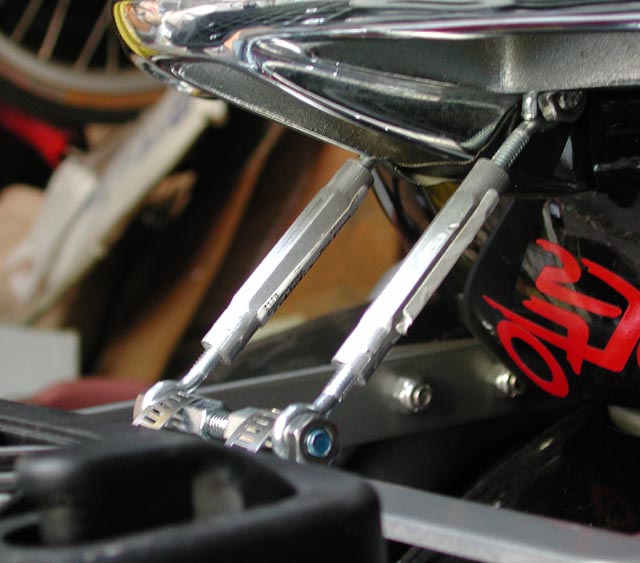
When I mounted a Givi v46 topcase, I found that the topcase mounting plate had to sit well back on the rack in order to clear the passenger grab rail. Because of this, there was a little more flex in the bracket than I liked, letting the topcase bounce a bit. So, in an attempt to make the rack more rigid, I started prototyping additional support for the rack. My first attempt isn't very pretty (but it doesn't look bad either), and uses off the shelf parts from a hardware store.
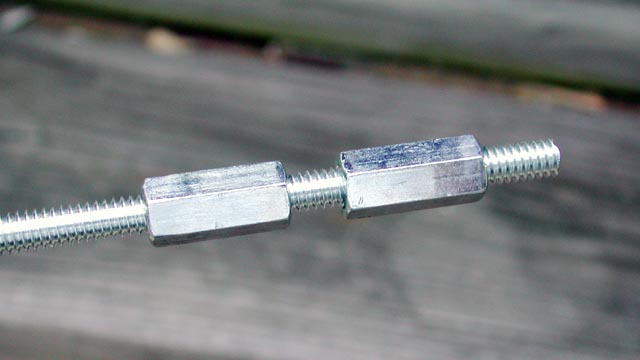
The center support of the Montana rack mounts to the frame/fender under the seat skirt. This is very rigid point so I used it as a "hanger" for the rack support. The idea was to use a bolt at the top, two turnbuckles as hangers, and a fastening point clamped to the rack. It's an unobtrusive setup... the turnbuckles are pretty small, and the horizontal mounting bolts are only about 2" long. For the lower bolt, a piece of threaded rod was cut to length and two rod couplers were screwed onto the rod, with threads left exposed on each end. This provided a support for the rod that raises the threads up off of the rack enough to slip the eyelets of small turnbuckles onto the ends. The turnbuckles allow me to adjust the length of the hangers, tightening or loosening the rack as needed. Again, this was my first pass... perhaps I'll machine something a little nicer, but I was in a rush for a solution for a trip this weekend. I'll follow up later with notes about how the rack/support/topcase combination performs on the trip. If you have comments, please visit the Guestbook. Copyright © 2004 by Zenreich Systems. All
rights reserved.
|
|
All text and photographs copyright © 1999 - 2017 Zenreich Systems. All rights reserved. |